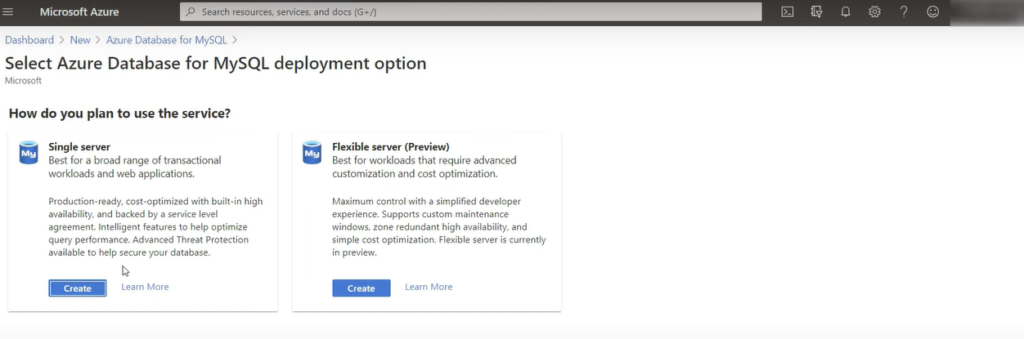
- Step: 1. Go to Azure Portal And search for Azure Database for MySQL, Click on Create and select Flexible server.
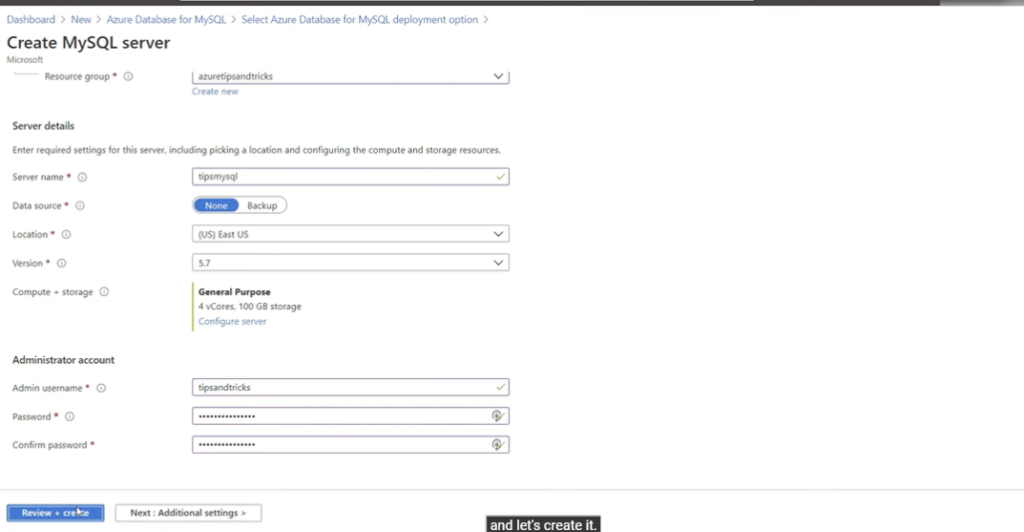
- Step: 2. Fill all the Information id password also after that click on Review + create.
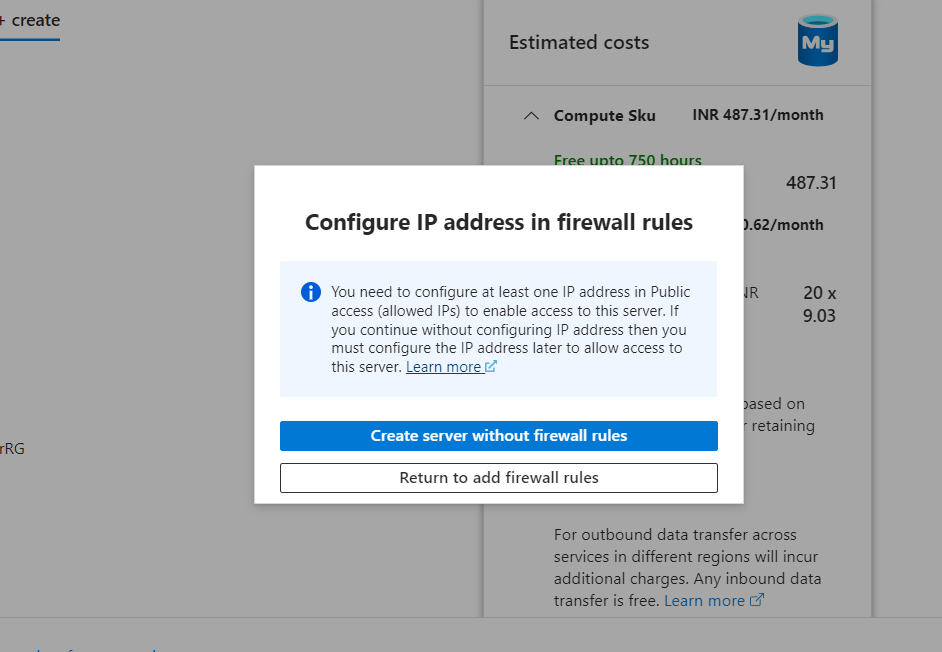
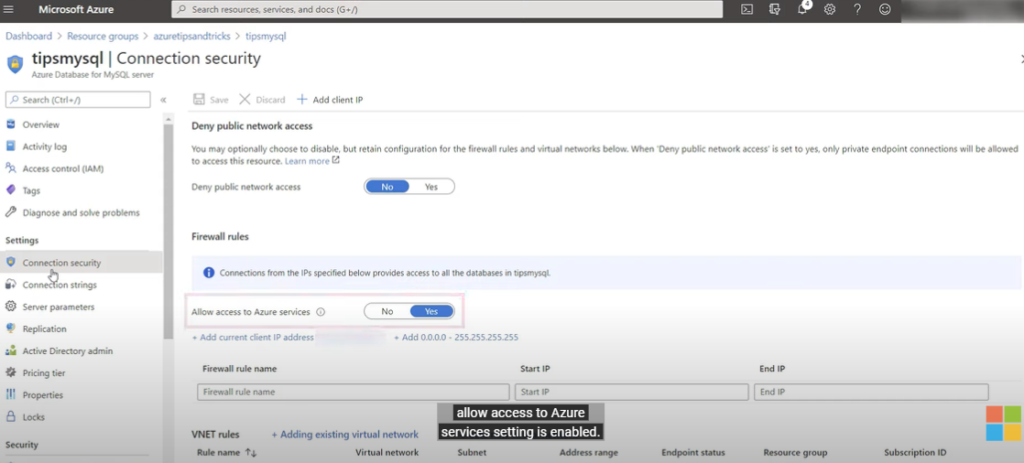
- Step: 3. Go to Connection security before I can migrate data to it, I need to make sure that I can access it. Don’t deny public network access and allow access to azure service is enabled.
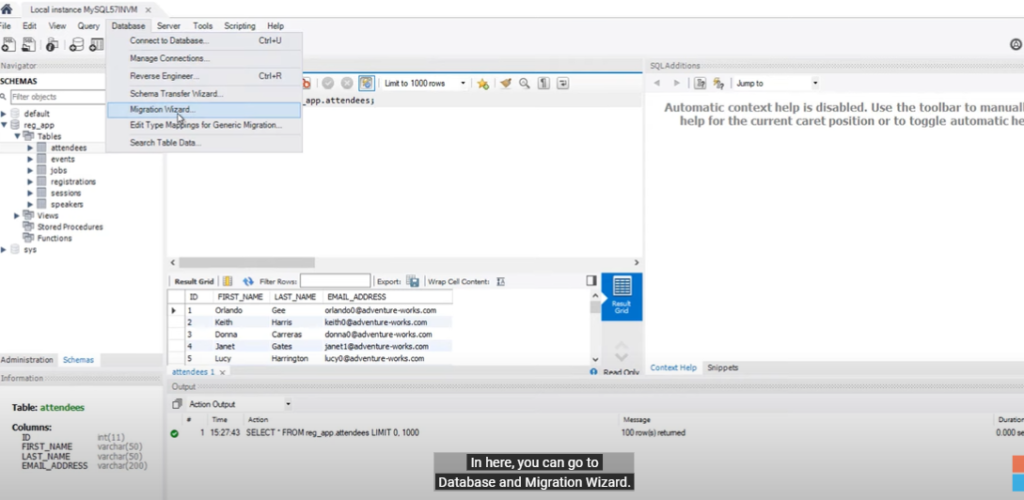
- Step: 4. Go to My SQL workbench and click on database, in database click on migration Wizard option.
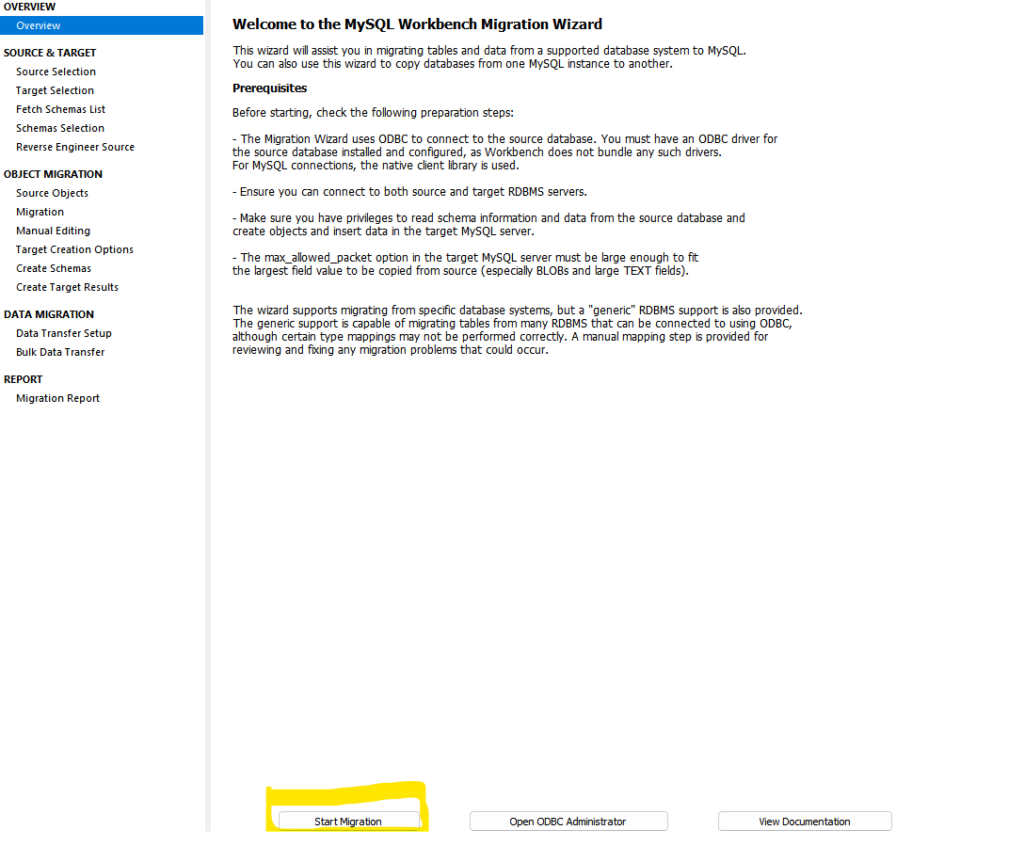
- Step: 5. Click on Start Migration and on the Source Selection screen and put the source database credentials.

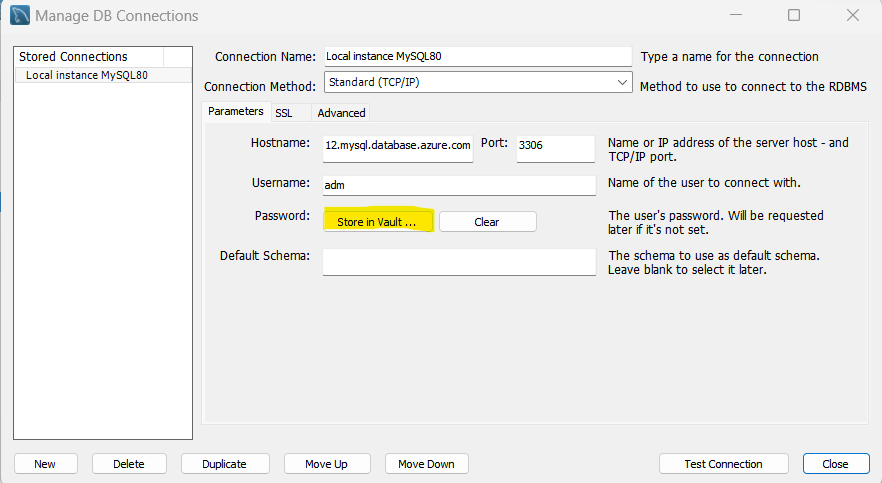
- Step: 6. Go to Target selection in connection method select the manage store connections and put the target database credentials.


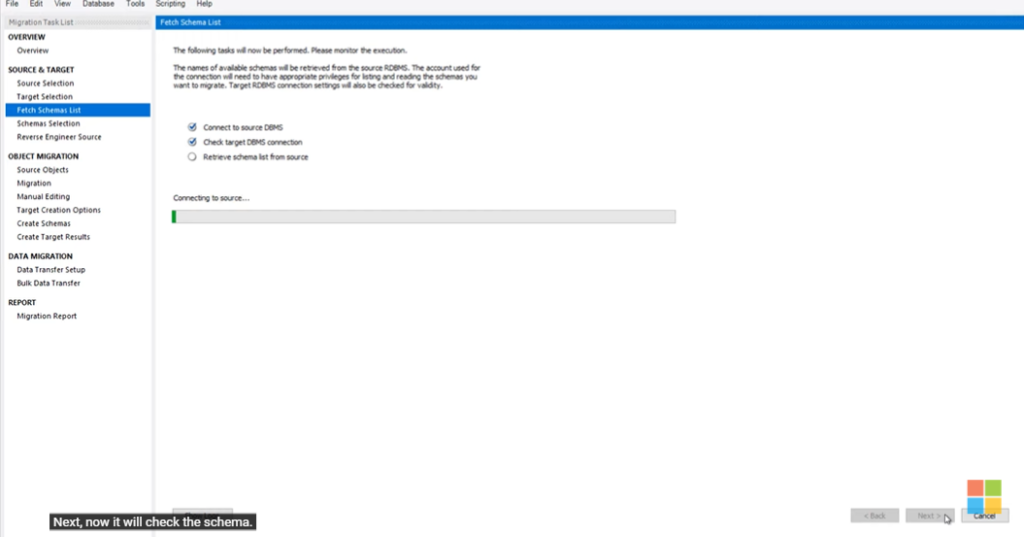
- Step: 7. In Fetch Schema click on next button.
- Step: 8. In Selection Schema select you database and click on next.

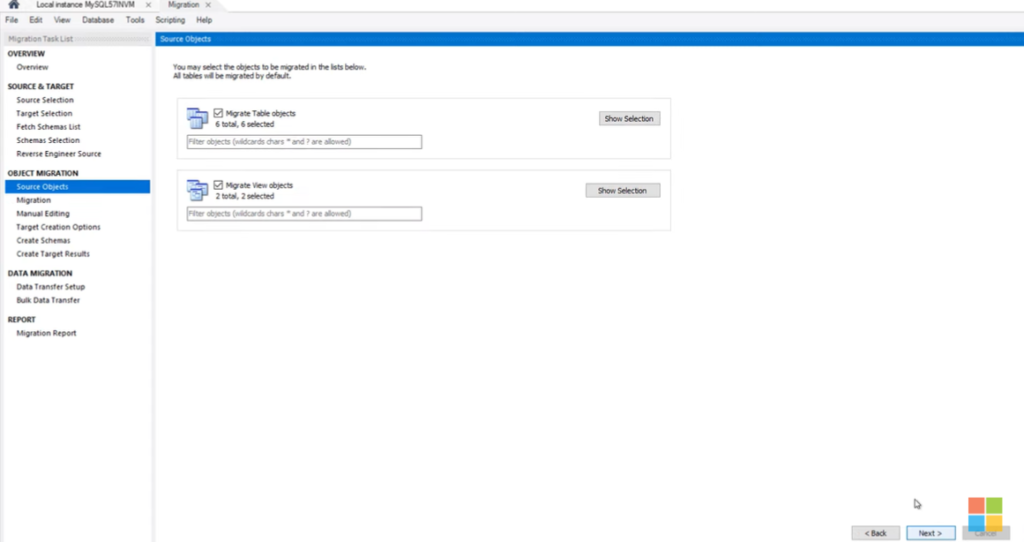
- Step: 9. In Source Objects simply click on next.
- Step: 10. In Migration click on next and go forward.

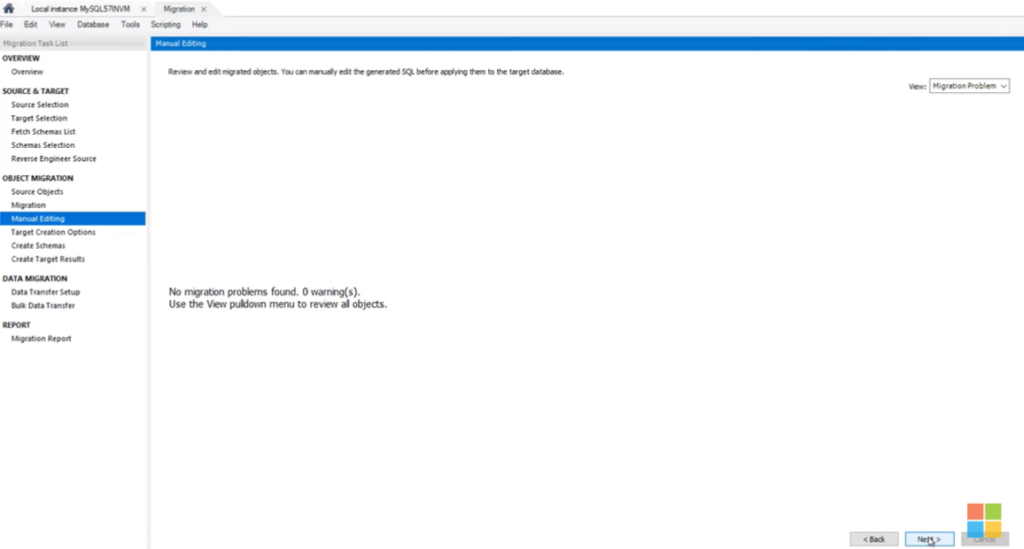
- Step: 11. In Manual editing click on next.
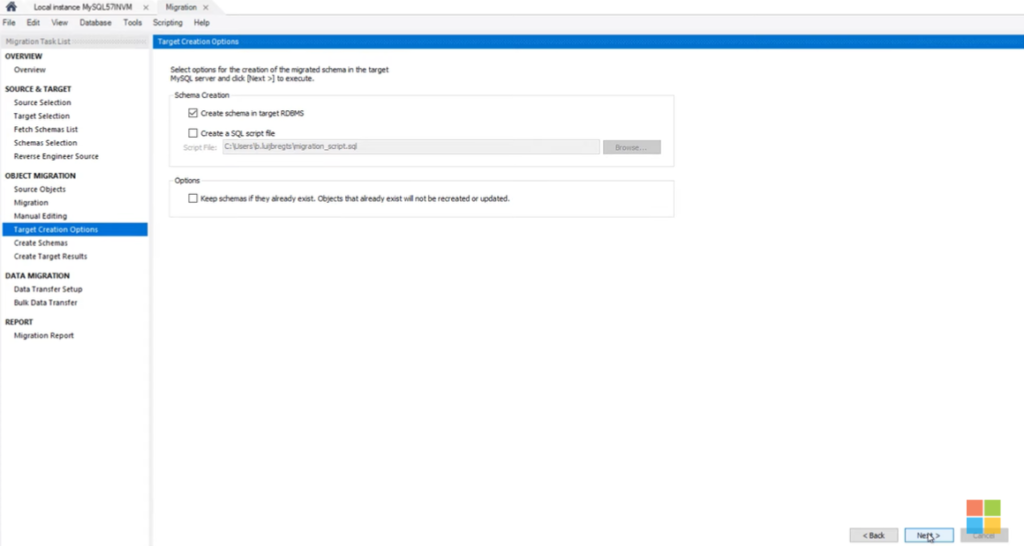
- Step: 12. In Target Creation Options Simply click on next
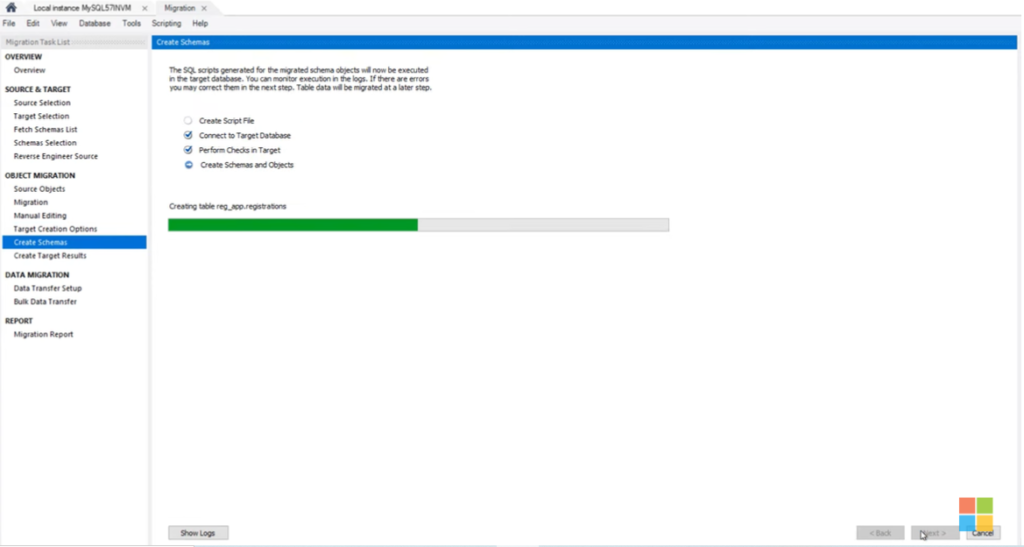
- Step: 13. In Create Schema click on next.
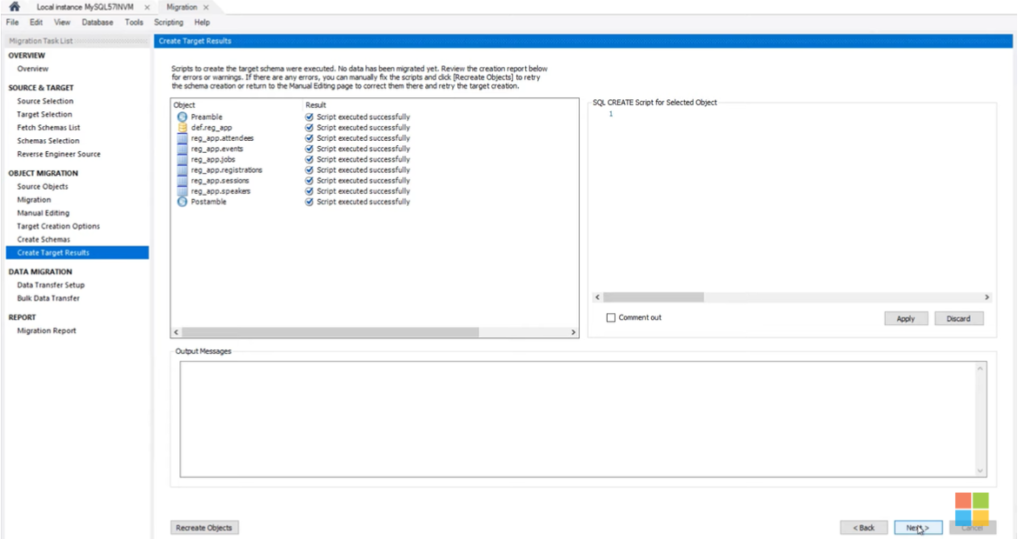
- Step: 14. In Create Target Results click on next.
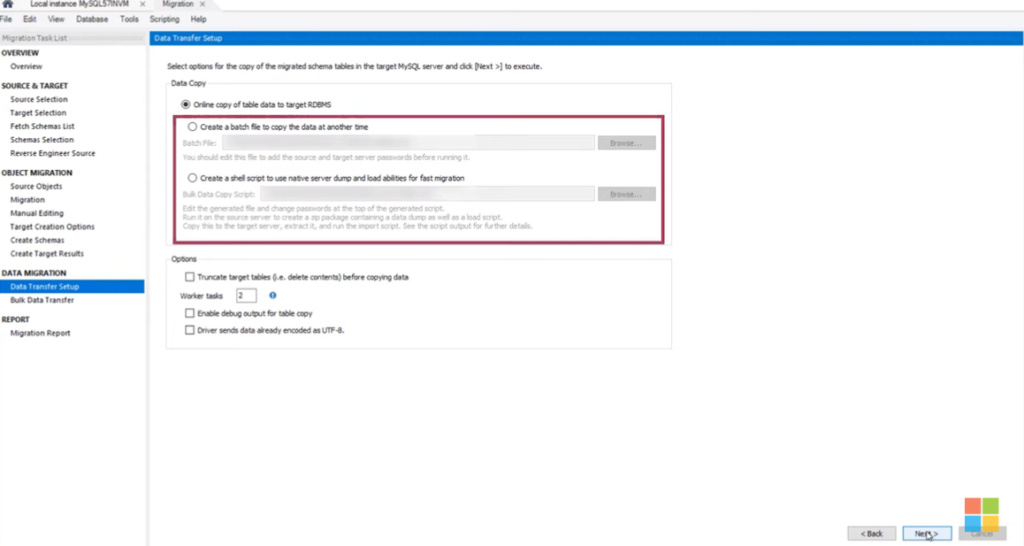
- Step: 15. In Data Transfer Steps select options and click on next.
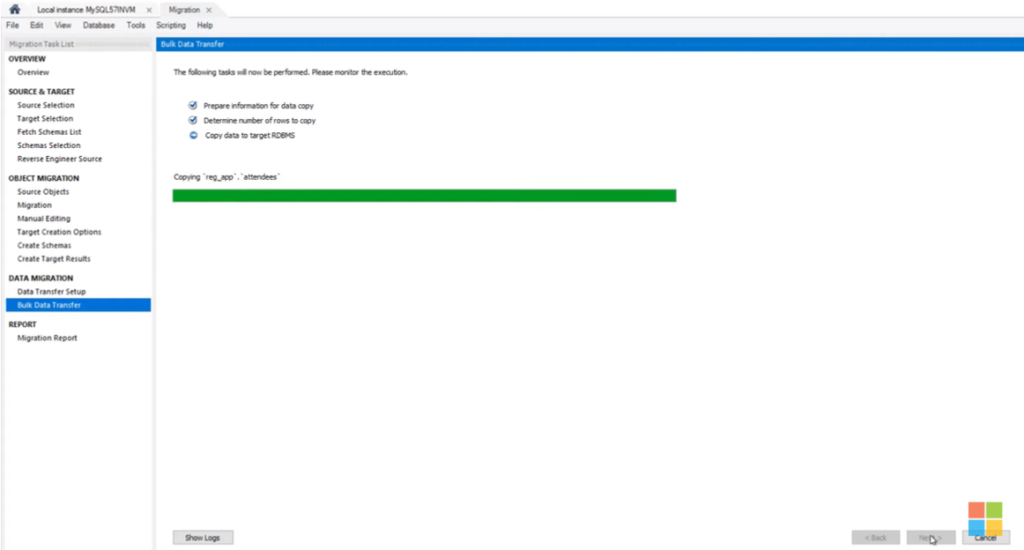
- Step: 16. In Bulk Data Transfer click on next to execute.
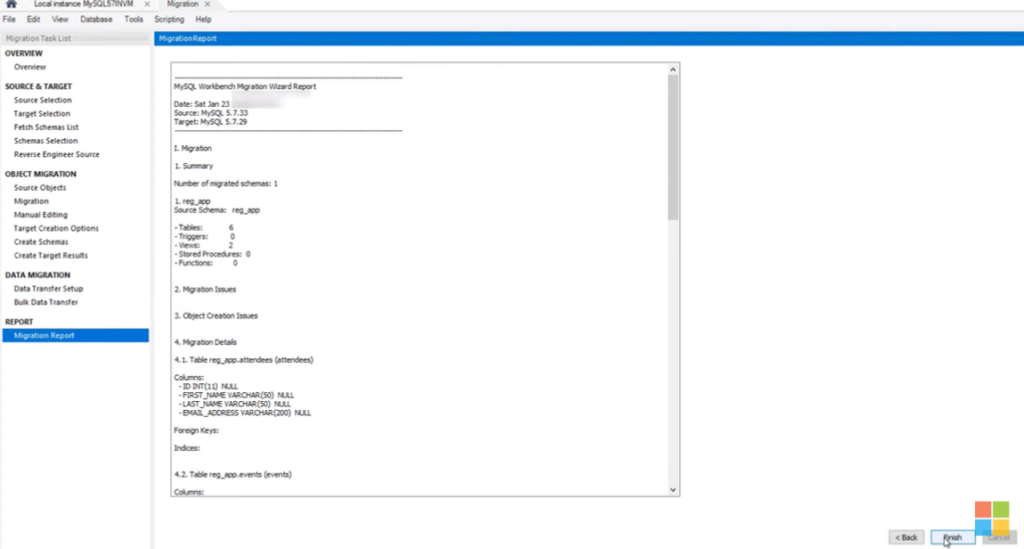
- Step: 17. In Migration Report simply click on next.
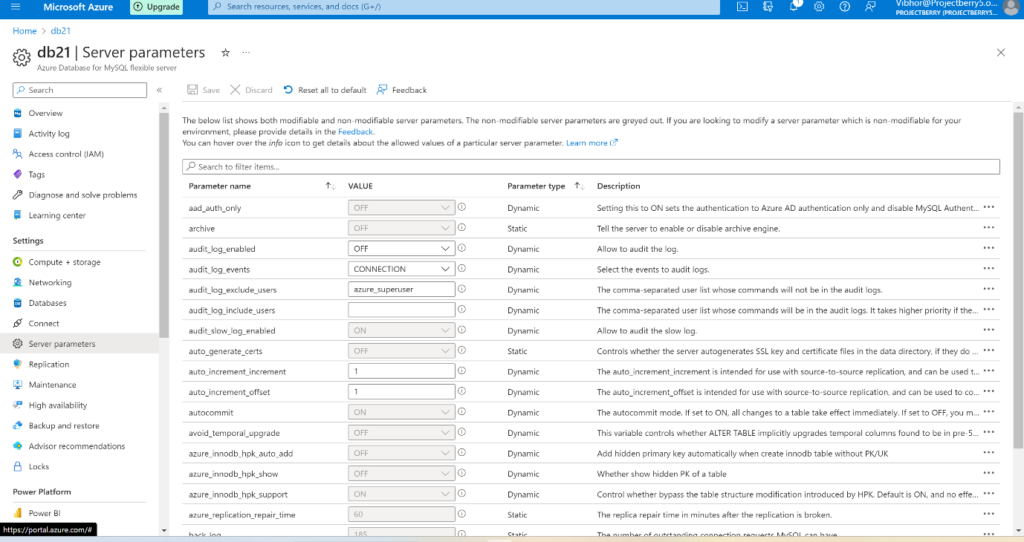
- Step: 18. Go to your Azure Database for MySQL Server, and click on database which you created and click in server parameters.
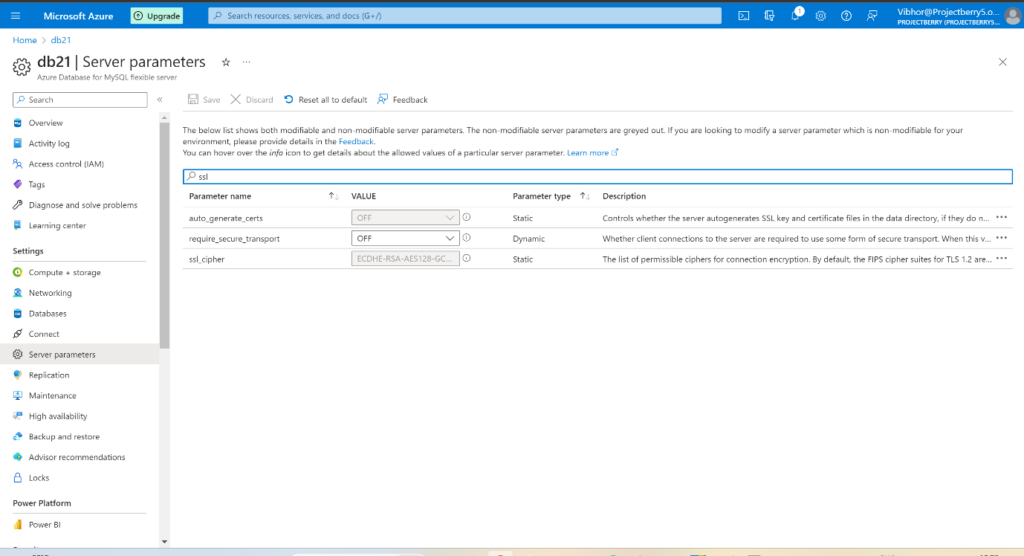
- Step: 19. Search for the SSL in Server Parameters. And Turn OFF the Value for require_secure_transport.
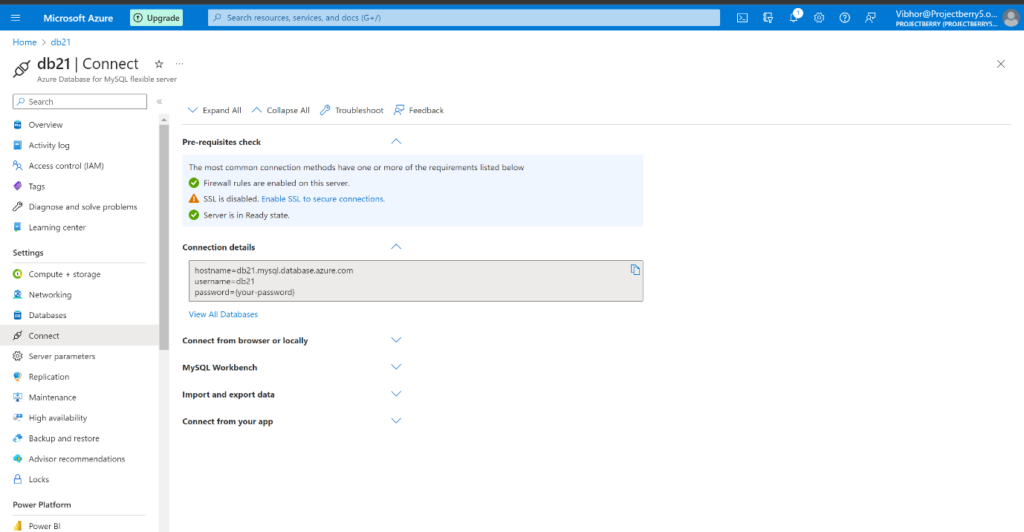
- Step: 20 . Check in connect SSL is Disabled.
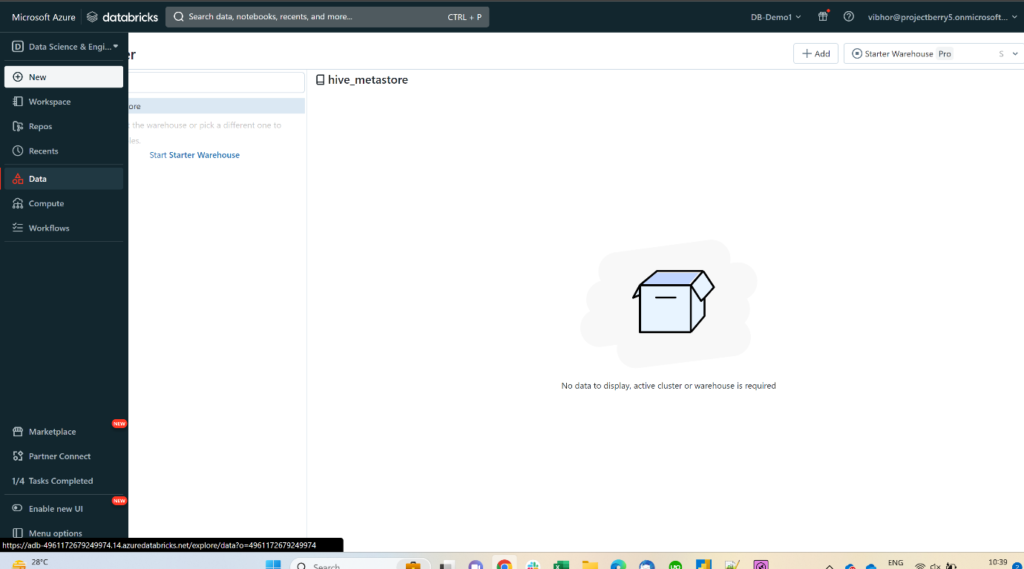
- Step: 21. Go to Databricks , go into data tab and click on the add button.
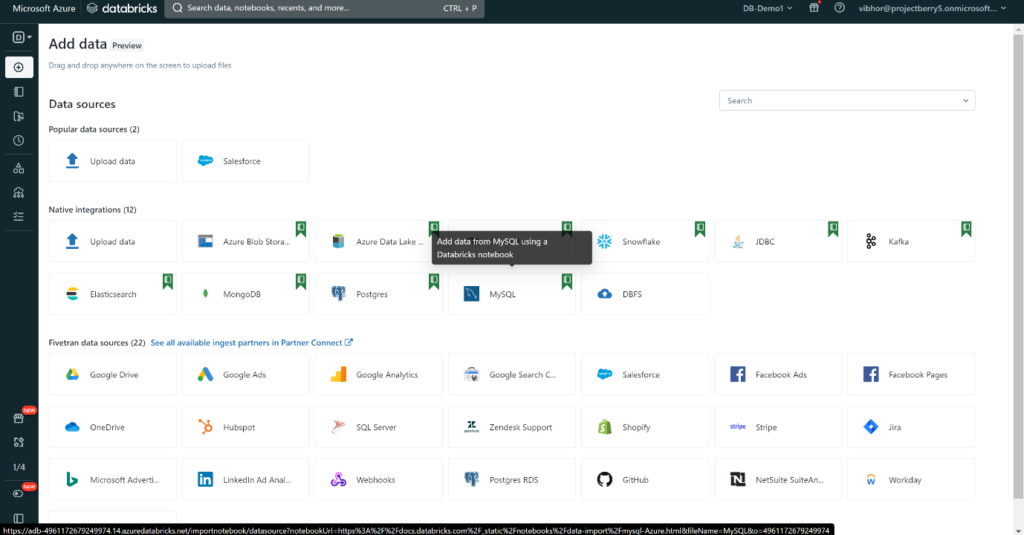
- Step: 22. In this data option and click on MySQL Database.
- Step:23. Put your database Host, Name , Table, User Password.
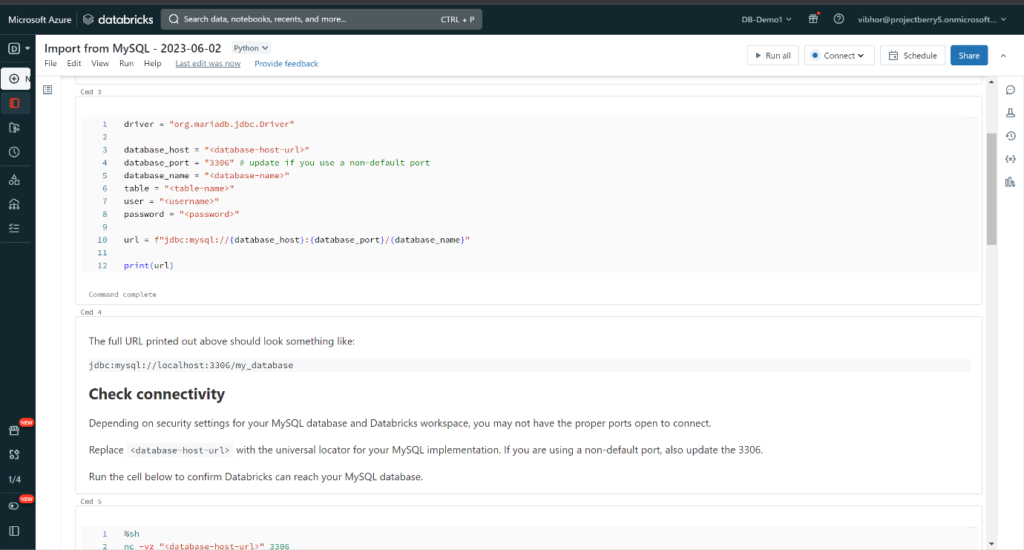
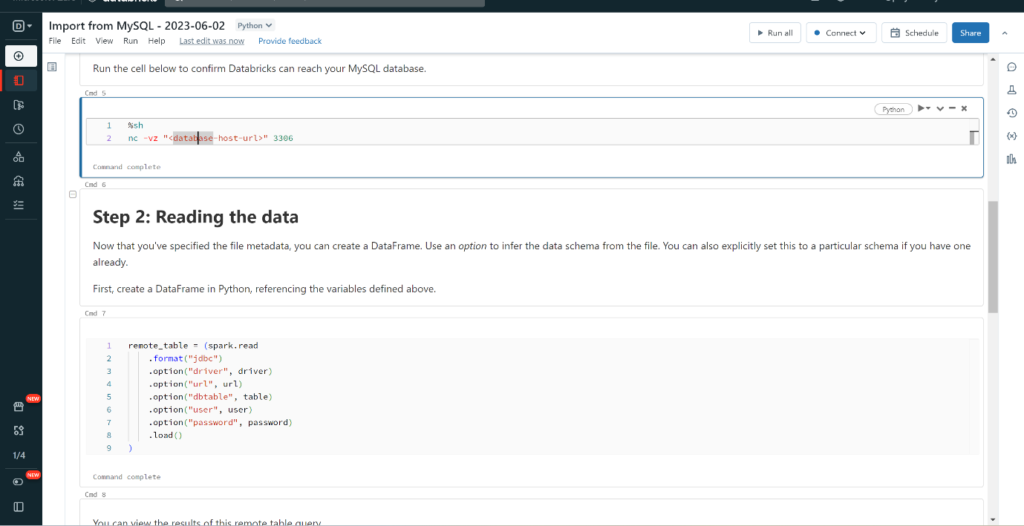
- Step: 24. Check your connectivity by putting your Database Host URL, and run next query for reading the data.